How to Replace a Memjet Wiper Roller Leave a comment

Printers with Memjet technology stand out because the ink cartridge is static as opposed to many popular printers with rollers that move back and forth.  All Memjet printers require you to replace the Memjet wiper roller after some time. That’s why the experts at Chicago Color Label are here to show you how to replace a Memjet wiper roller and you can even find a replacement at our online store today!

Step By Step: Replacing Your Memjet Wiper Roller

While there is a range of Memjet printers like the Afinia L801, VIP 500, 600, and 700 series,  you don’t have to worry that the wiper roller replacement process is different for every model. This step-by-step process uses the Afina L801 printer but will work for all Memjet printers (except the L901 which has a much simpler replacement process). Here’s how to replace a Memjet wiper roller highlighted in the video included below:


1: Remove and Store printhead

Using your printer’s interface, navigate to the “Printhead” Menu and select “Replace”.  After 30-60 seconds, the printhead will complete its de-priming process and the blue cap (shown above) will pop up automatically. You can continue to lift the blue printhead cap and gently remove the printhead by pulling it forward (toward the front of the printer) and then upward to complete the removal.  Always allow the printer to release the blue cap before trying to lift it, otherwise, damage will be done to the printhead cap. We recommend saving your printhead packaging for the storage of old printheads.


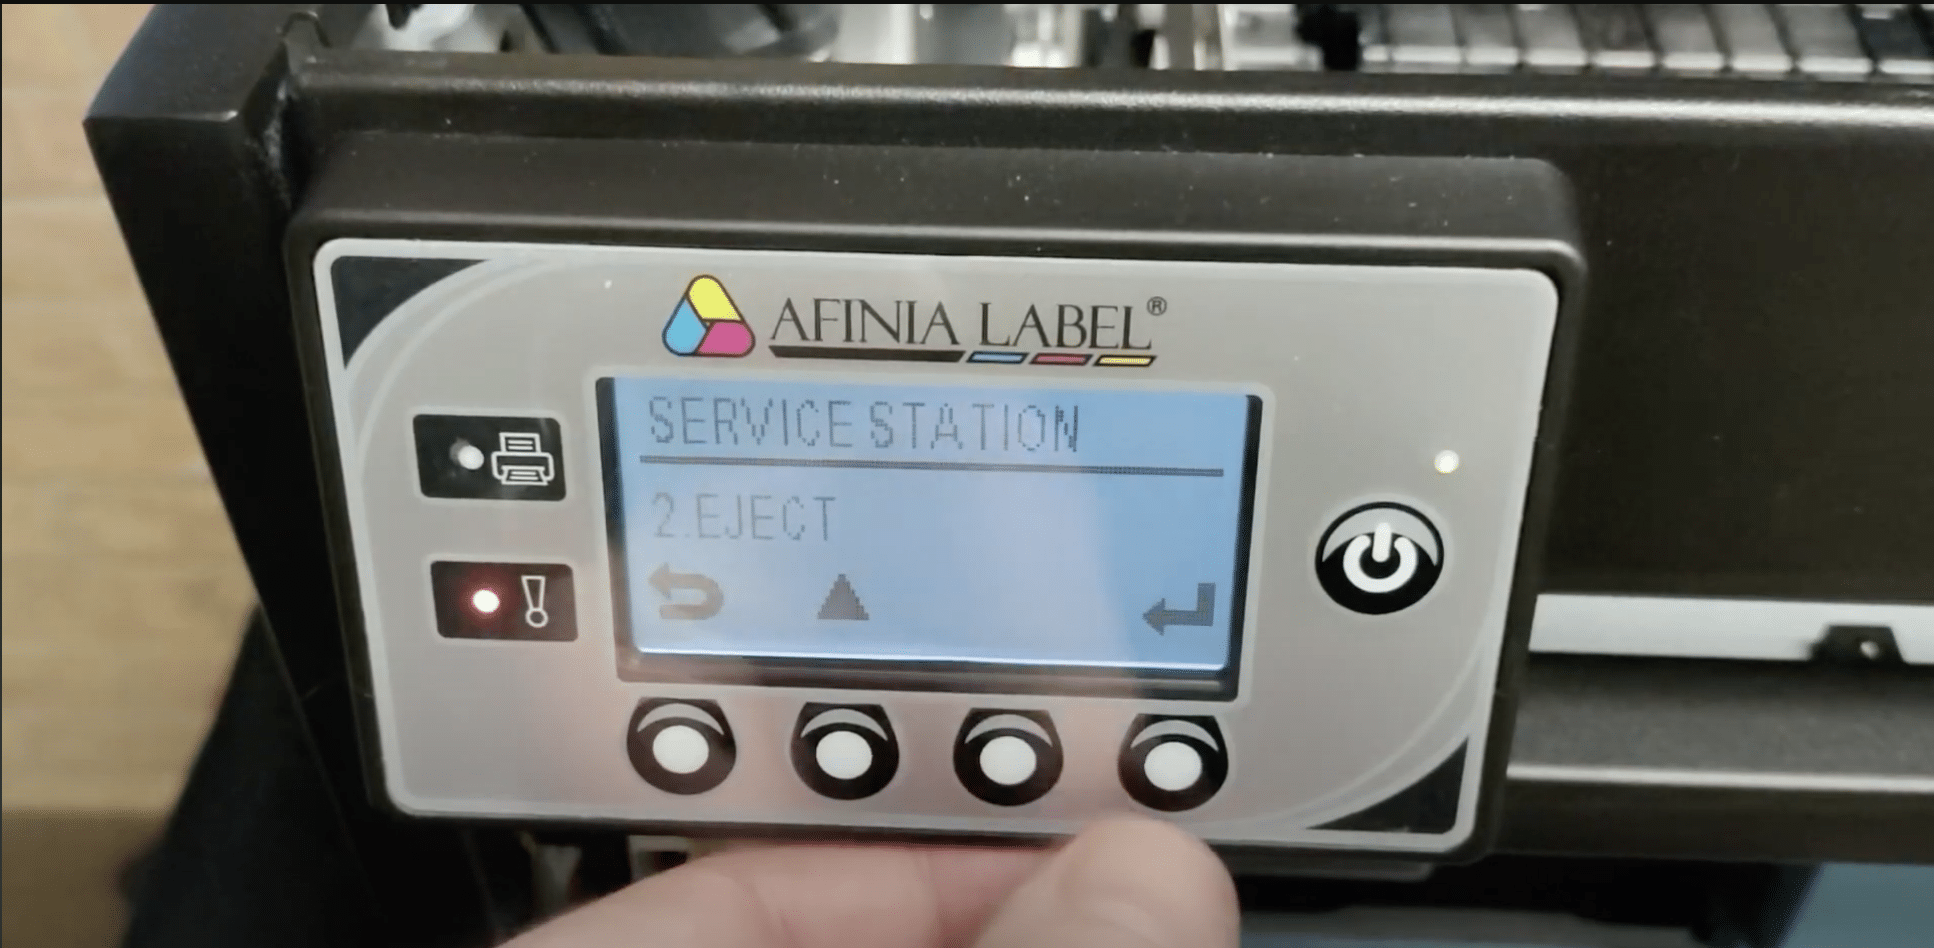
2: Remove Front Panels, Lift Clamshell, & Eject Service Station

Step 2a Remove Front Panels
Use a screwdriver to remove the front panel of your printer to provide easier access. There are four screws (indicated above) located at the top left and right as well as below the ink door switch and on the right side at the top of the ink chassis.


Step 2b Lift the Clamshell
Lift up the clamshell by gently, but firmly pressing upward on the tabs shown above.


Step2C Eject Service Station
Navigate to your printer’s “Security” menu & log in with the default password to give yourself the necessary security clearance.  The default password is 123. Return to the “Configuration” menu and eject the Service Station.


3: Power Off Printer

Step3a Power Off Printer
Use your printer’s interface to power it down.


Step 3b Remove Power Cables From Faceplate
Carefully remove the power cables from the back of the faceplate.  On most models, there are two wire harnesses, one on the upper left and one on the lower left as shown above.


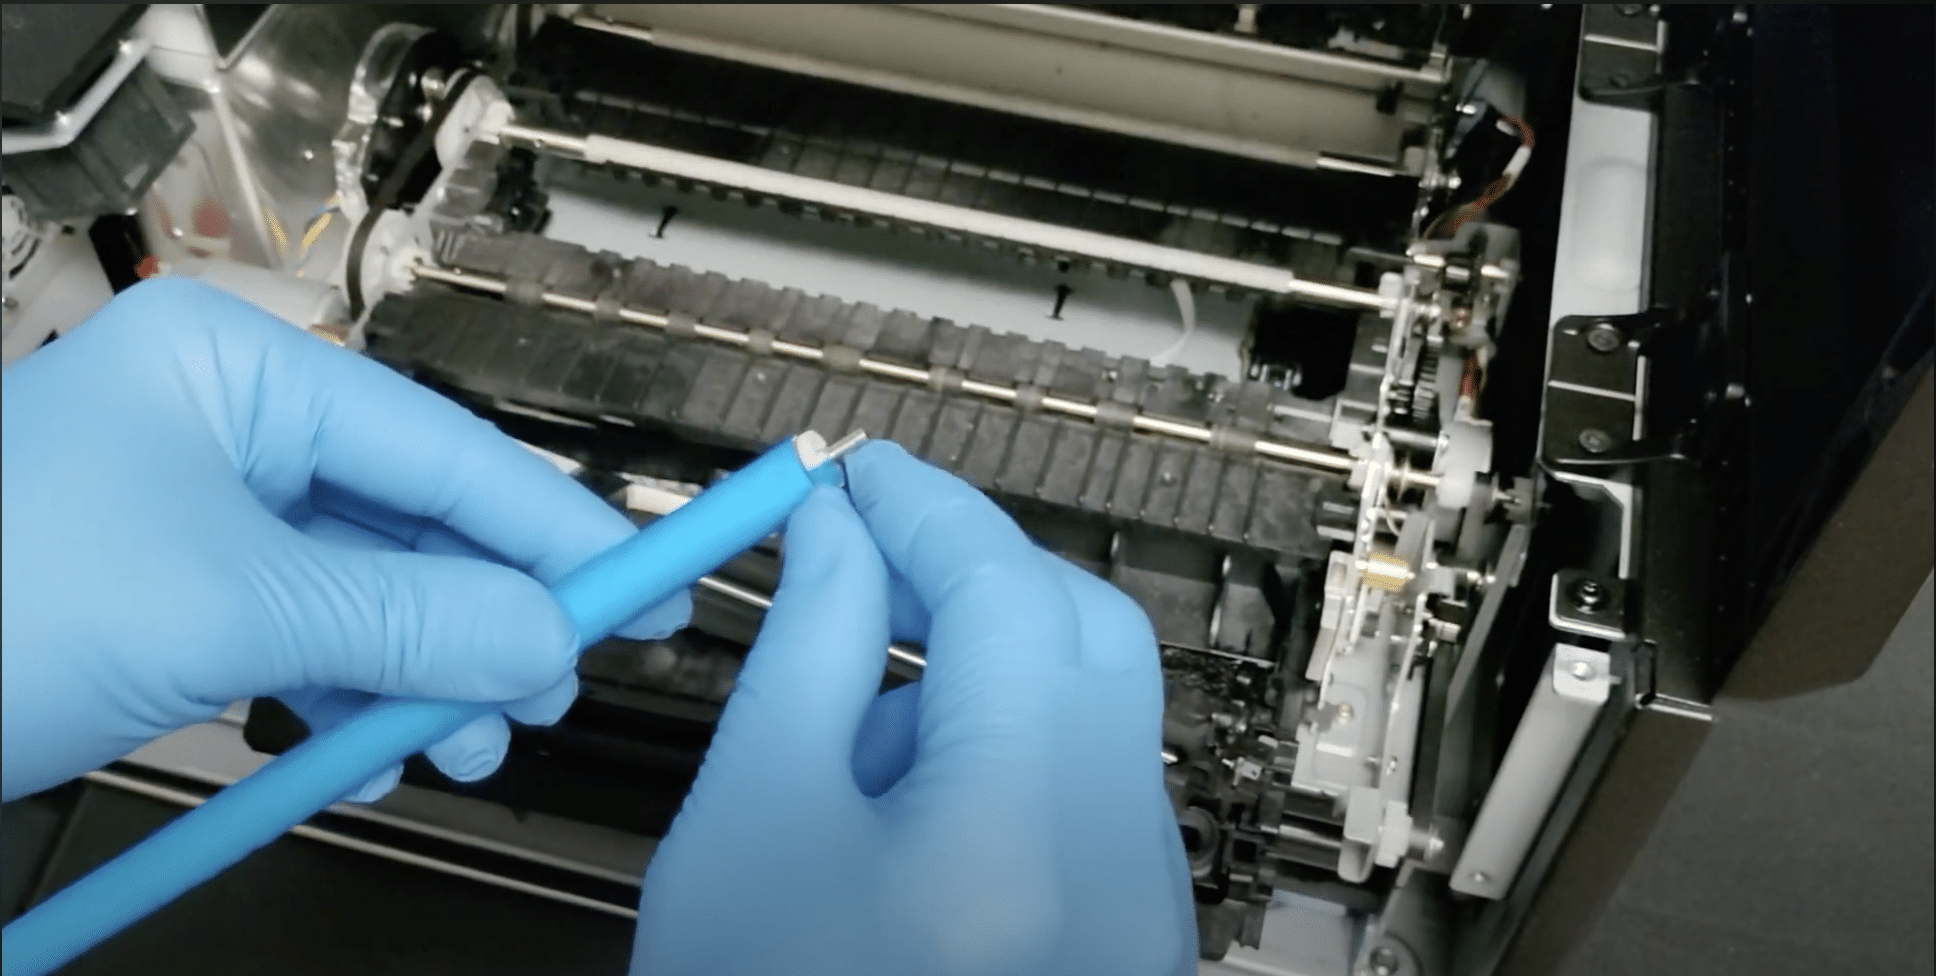
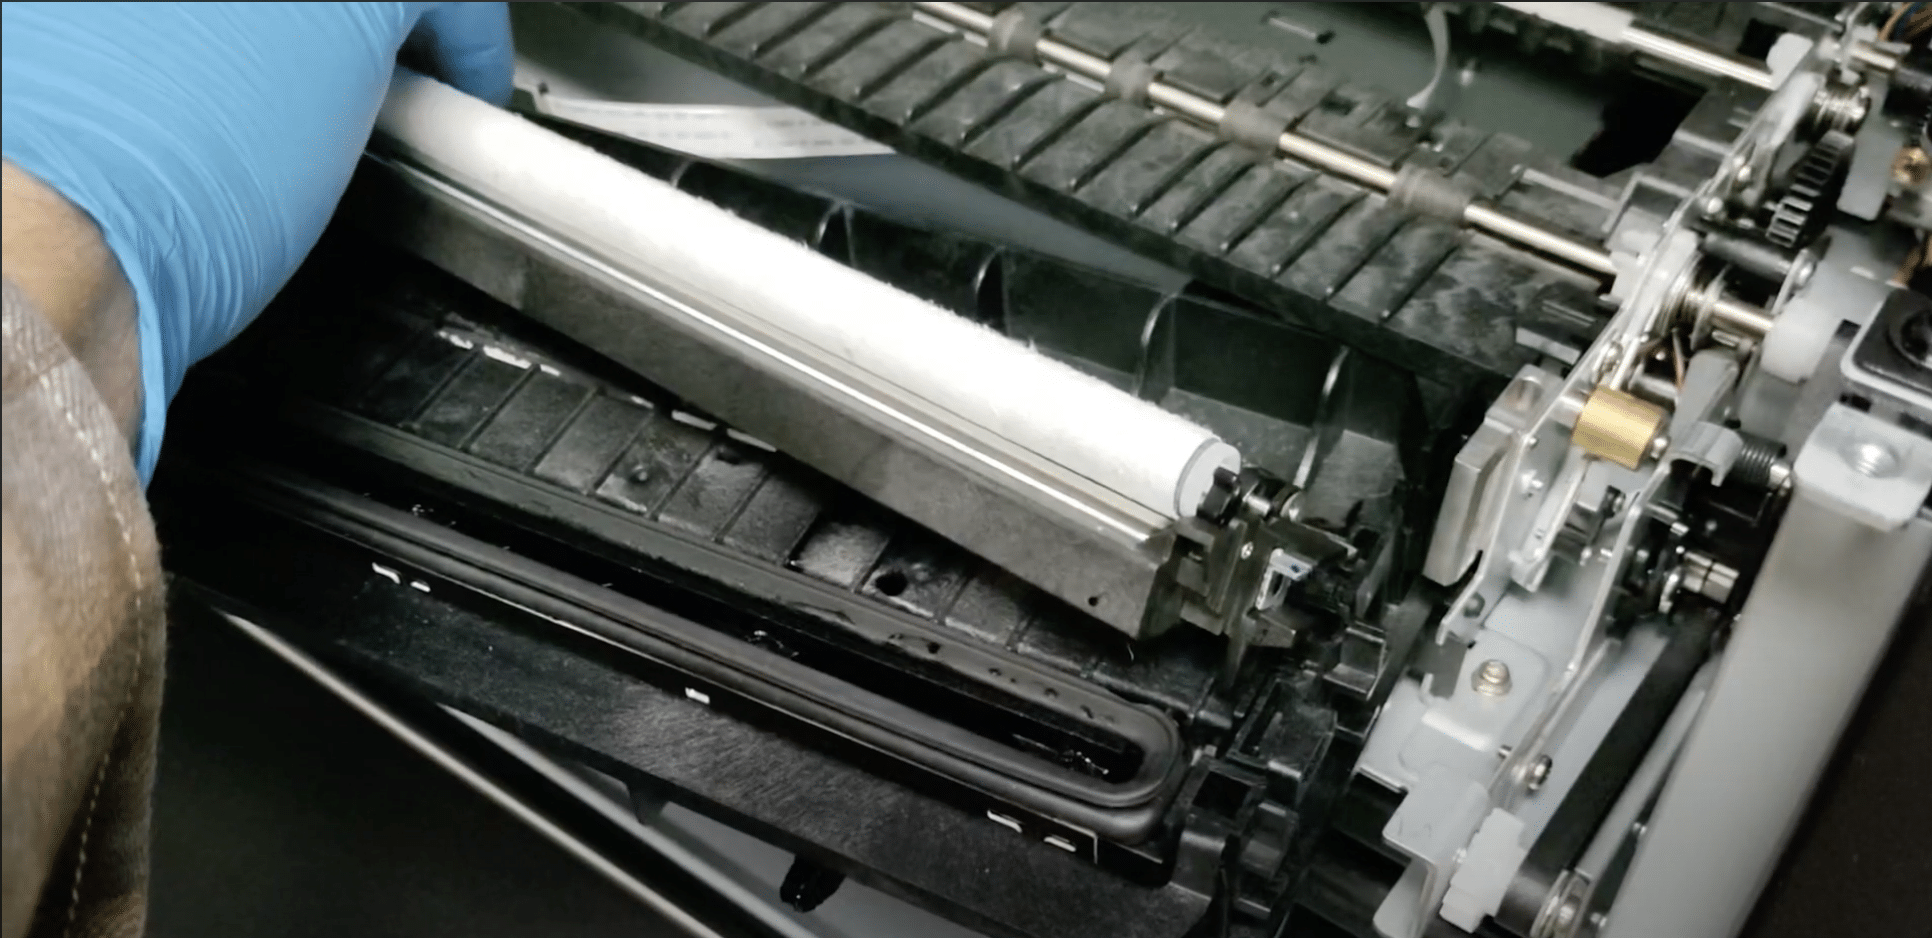
4: Undo Screws & Remove Old Wiper Roller

Step 4a Remove Old Wiper Roller
Gently pull your old wiper roller out of the Service Station. It will lift out with very little effort. Gloves are recommended as your wiper roller will likely have residual ink on it.


Step 4b Undo Screws on Wiper Roller
Undo the two small screws holding the retainer clips (highlighted in red above) in place, be careful not to fully back them out so you do not lose them! The image above shows the retainer screw on the right side. There is an identical screw on the left as well. Once the retainer screw is loosened, the retainer clip can be unclipped on each side allowing you to remove the wiper roller from the assembly.


5: Install New Wiper Roller & Tighten Screws

Step 5a Remove Film on New Roller
Remove the protective film on your new roller, there is a tab on one end that should allow you to remove it in two pieces.


Step 5b Align Gears & Clip In Place
Line up the gears on the left side of the wiper motor with the gears on your new roller.  Once it has properly been seated, move the plastic clip back into position on both ends.


Step 5c Retighten Screws
Retighten the screws that you loosened in Step 3.


Step 5d Re-place wiper roller in the assembly
Re-place wiper roller into the assembly. The wiper roller assembly should simply drop into it’s position in the service station.


6: Reinstall Service Station

Step 6 Reinstall service station
Reinstall the service station by carefully aligning the tabs on both sides of the service station with the grooves on the printer chassis. The service station should slide easily and freely into the chassis. If you feel any binding, remove the service station and try to realign it again. Gently push the service station back until it stops. Once the service station stops moving, manually rotate the gear on the right side (see arrow) of the chassis, to continue drawing the service station into the printer’s body until the service station stops moving. Do not force the service station at any point. This step should be free of any friction or force.


7: Reinstall Panels

Step 7 Reinstall Panels
Reinstall the panels we removed in steps 2 & 3.


8: Reinstall Printhead

Step 8 Reinstall Printhead
Reinstall the printhead we removed in step 1 and lower the blue latch.


9: Power Printer On and Test!

Once your printer has been reassembled, power it on & do a test print to ensure everything if functioning properly!


Memjet Wiper Roller Replacements

These are just some of the recommendations we have for your Memjet wiper roller replacement below:

  • Afinia L801 and VP700 Wiper Roller
  • Afinia L901 and L901 Plus Wiper Roller
  • Afinia CP950 and CP950 Plus Wiper Roller

Shop Memjet Wiper Roller Replacements at Chicago Color Label

Once you’ve read more about replacing your Memjet wiper roller, contact our Chicago Color Label team for more information on products and services to meet your business needs. We offer plenty of Memjet wiper roller replacements for sale as well as label makers, commercial label printers, a wide variety of inks, and so much more. You can also request a free sample of colors to see which works best for your business!


Please enable JavaScript in your browser to complete this form.
Name

Leave a Reply

Your email address will not be published. Required fields are marked *